
 فارسی
فارسی English
 العربية
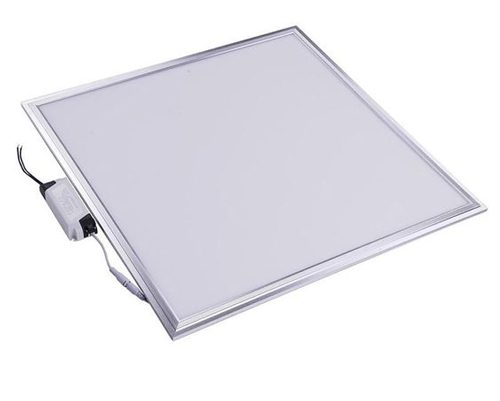
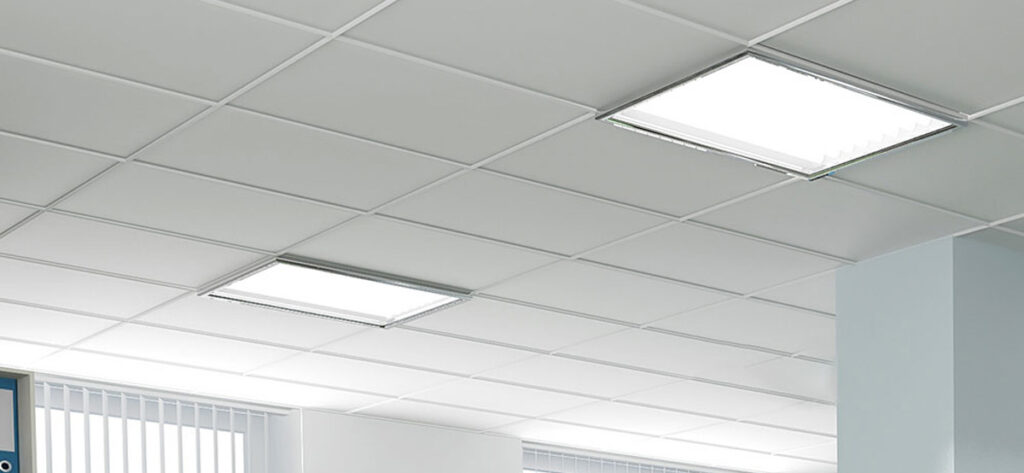
Recessed LED panels are one of the important innovations in modern lighting that have quickly replaced traditional bulbs due to their unique features. Installing recessed LED panels helps to enhance the beauty and efficiency of a space. Recessed LED panels are an excellent choice for office, commercial and residential environments due to their lower energy consumption, longer lifespan and uniform, glare-free light. Using LED technology, these panels produce more light than old fluorescent lamps and are very cost-effective due to reduced electricity costs.
Preparing the installation site for the recessed LED panel
Properly preparing the installation site for the recessed LED panel is very important to ensure optimal performance and beautiful appearance. These steps will help you install the recessed LED panel correctly and optimally and benefit from better lighting. Here are the steps to prepare the installation site for the recessed LED panel:
Choosing a suitable location:
First, choose a suitable location to install the recessed LED panel. This location should be away from obstacles and in places that are well lit.
Accurate measurement:
Accurately measure the dimensions of the LED panel and the installation space. These measurements will help you provide the necessary space for installing the panel.
Cutting the ceiling or wall:
Using the appropriate tool, cut the ceiling or wall to create a suitable space for the panel. Make sure the cuts are accurate and clean.
Check the wiring:
Check the existing electrical wiring at the installation site and make sure that the connections are made correctly. Add new wiring if necessary.
Install the bases and clamps:
Place the bases and clamps necessary to hold the LED panel in place and install them firmly.
Connect to the power supply:
Connect the LED panel to the electrical power supply and ensure that the connections are correct.
Place the panel:
Slowly place the LED panel in the installation site and make sure that it is properly positioned and fixed.
Test the operation:
After installation, test the operation of the LED panel and ensure that it works properly and has adequate lighting.
Choosing the right transformer for an LED panel
One of the most important steps in installing and setting up this type of lighting is choosing the right transformer for an LED panel. The transformer or LED driver is responsible for converting the mains voltage to the voltage required by the LED panel, and choosing it correctly can help improve the performance and extend the life of the panel. Here are some important points to consider when choosing the right transformer for an LED panel:
Output voltage matching:
The output voltage of the transformer must be fully compatible with the voltage required by the LED panel. A higher voltage can cause the LED to burn out, and a lower voltage may reduce the light intensity or the panel may not light up.
Appropriate amperage:
The transformer power (based on amperage) must be proportional to the current flowing through the LED panel. Choosing a transformer with insufficient current may cause overheating and damage to the power supply or even intermittent shutdown of the panel.
Transformer quality:
Using reliable transformers with high efficiency can optimize energy consumption. In addition to high leakage current, weak transformers generate a lot of heat and may pose risks such as fire or voltage fluctuations.
Pay attention to the installation environment:
The transformer must be selected according to the environmental conditions. For example, if it is used outdoors, a transformer with proper insulation and a degree of protection against water and dust (IP65) is required.

How to Wire and Connect LED Panel Safely
For installing a built-in LED panel, the steps of wiring and connecting to the power supply are very important. By following these steps, you can install your LED panel safely and correctly and benefit from better lighting. Here are the steps necessary for safely wiring and connecting the LED panel:
1. Disconnecting the power:
Before starting any electrical work, make sure that the power to the installation site is disconnected. This is necessary to prevent any risk of electric shock.
2. Preparing the wires:
Prepare the required electrical wires. The length of the wires should be sufficient to easily connect to the LED panel and the power supply.
Separate the phase (red), neutral (blue) and ground (yellow or green) wires. Use quality wires suitable for power transmission.
3. Connecting to the power supply:
Connect the phase and neutral wires to the input terminals of the LED panel. Make sure the connections are tight and without any loose or loose connections.
Connect the ground wire to the ground portion of the LED panel. This will help increase the safety of the system.
4. Using connectors:
Use the appropriate connectors to connect the wires. The connectors should be such that the connections are made firmly and securely.
Use screw terminals or quick connect connectors.
5. Placing the LED panel:
Place the LED panel in the installation location and secure it. Make sure that the panel is properly positioned and does not move.
6. Final test:
After completing the wiring, reconnect the power and test the operation of the LED panel. Make sure that the panel lights up properly and there are no problems with its operation.
Check the connections: Make sure that there are no loose connections or excessive heat in the wires.
Important tips for increasing the life and efficiency of LED panels
To optimally utilize LED panels and increase their useful life, it is essential to observe a few basic points. By observing these points, you can make the most of your LED panels and increase their lifespan and efficiency. Here are some of these points:
1. Choosing the right transformer:
Using a quality transformer that is appropriate for the voltage and amperage of the LED panel can help reduce energy consumption and increase the life of the panel.
2. Proper installation:
Proper and safe installation of the LED panel is of great importance. Make sure that all connections are made correctly and the panel is installed correctly in place.
3. Proper cooling:
LED panels require proper cooling due to heat generation. Using a proper cooling system can prevent the panel from overheating and extend its life.
4. Protection against power fluctuations:
Using surge protectors to prevent voltage fluctuations can help maintain the health of the LED panel and extend its lifespan.
5. Regular cleaning:
Regularly cleaning the surface of the LED panel from dust and dirt can provide better illumination and higher efficiency. Avoid using harsh chemicals and use soft cloths for cleaning.
6. Turn off when not needed:
Turning off the LED panel when you do not need the light can help extend its useful life. This will not only reduce energy consumption but also extend the life of the LED.
7. Periodic maintenance:
Performing periodic inspections and necessary repairs can prevent major problems and keep the LED panel functioning optimally.
Shamim Andisheh Company
Shamim Andisheh Company, one of the most reputable companies active in the field of lighting and illumination in Iran, offers quality products with years of experience and expertise in this field. One of the company’s outstanding products is built-in LED panels, which are an ideal option for all types of residential, commercial and public spaces due to their unique features.
Features of Shamim Andisheh Company’s built-in panels:
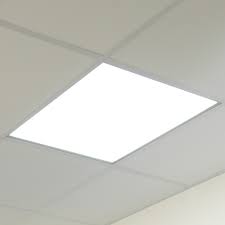
Uniform and glare-free lighting
Energy saving
Long lifespan
Beautiful and modern design
Easy installation
Shamim Andisheh Contact Ways
Phone: Head Office: 12-44071011 (021)
Email: shamim@shamimco.com
Website: www.shamimco.com
Social Networks: Shamim Andisheh Company is active on social networks such as Instagram and LinkedIn. You can contact them through these platforms at 09394121002.


")

